SDrive-MAX by KBr#
Table of Contents
English#
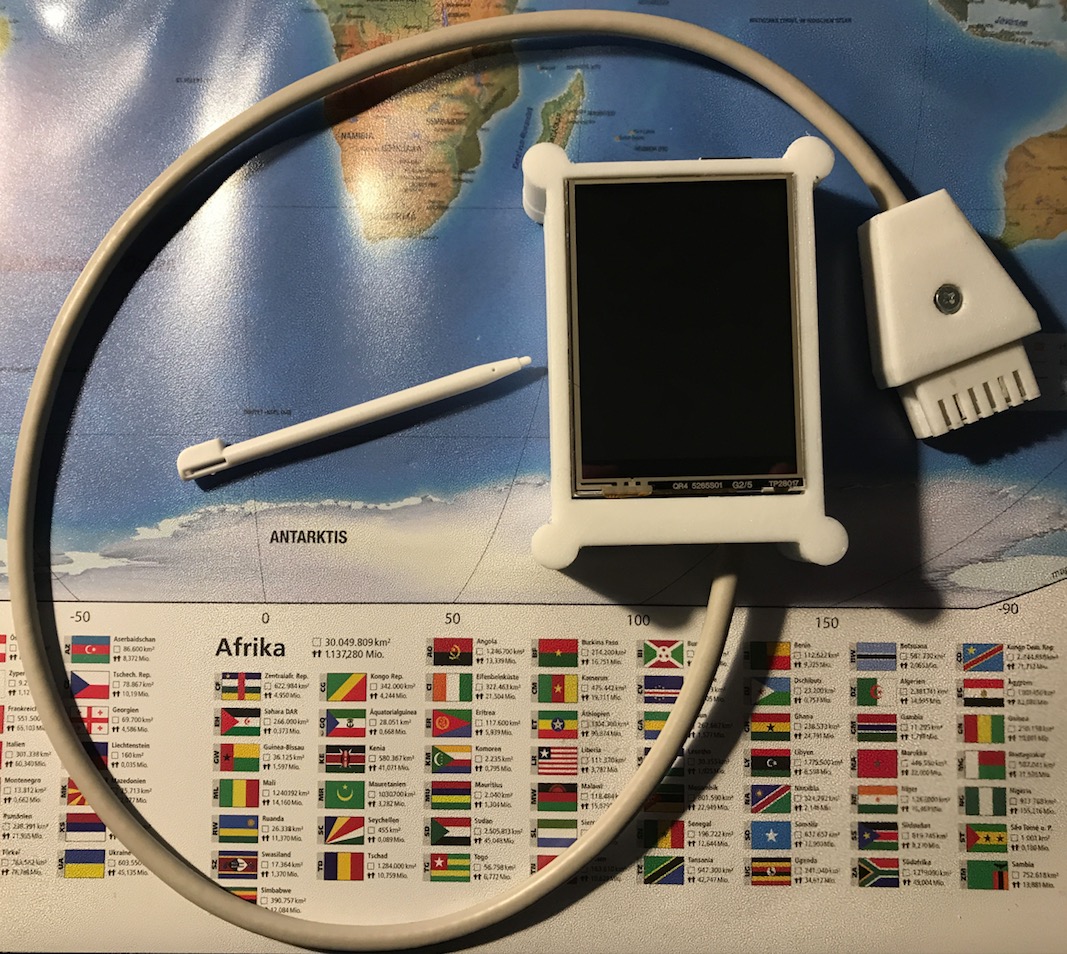
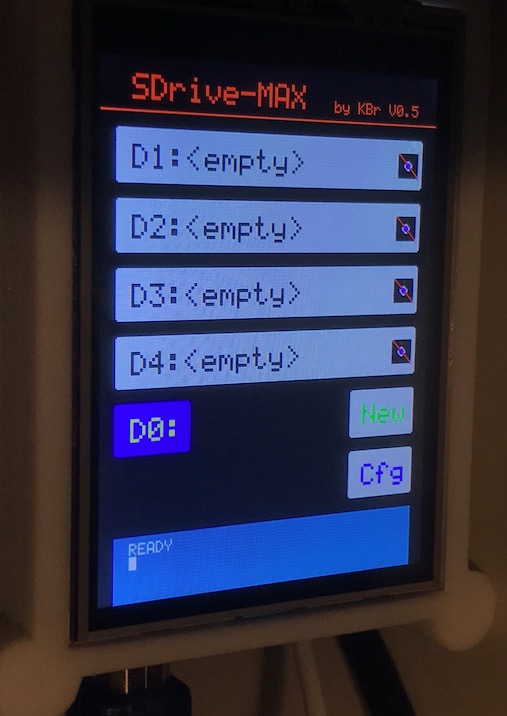
SDrive-MAX by KBr is an incredible smart device, which is highly recommended by AtariWiki. All data is stored on a mircoSD card (up to 32 GB and FAT32 format). The device offers the user 4 drives at one time and is connected to the Atari with a SIO cable. No further power supply is needed. Please ignore the power plug:
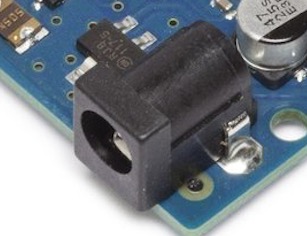 |
when dealing with the Atari over SIO and/or PC/Mac over USB. It can really damage the device! Please don't use USB and SIO at the same time! With version 0.5 SDrive-MAX can handle now ATX- and CAS-images! It can't be better! Now, Atari users on real hardware can deal with protected disk images. Of course, ATX support is currently limited and not all ATX files are supported. In 0.5, images with weak bits or timing based protection (e. g. skew alignment or duplicate sectors based on drive timing) will not work correctly. Version 0.6 will have support for weak bits but still won't support timing based protection. Maybe, timing-based problems can be solved in the future, but we have to see, due to the limited resources on the device. Thank you so much Farb from AtariAge for providing us with this information. Further, all stuff on just a single microSD card! That offers for the community to build a 'master microSD card image' for all. Just a host is still needed.
And last but not least: Thank you soooooo much Klaus! You really, really rock! Go ahead and a Tera-Thank-You in the name of the community! Incredible and outstanding work! We are as deep as the Mariana Trench in our debt! :-))))
Downloads#
- http://www.kbrnet.de/projekte/sdrive-ng/index.html ; downloads from the original site
- package ; flash software for macOS
- firmware ; firmware from the original site
ATR image#
- SDrive-MAX atr image
 ; SDrive-MAX atr image for use as D0: drive
Flashing for macOS#
> download the latest package> download the latest firmware
> take apart 3 files: 'eeprom_writer.hex' , 'SDrive.hex' and 'sdrive.atr'
> connect Arduino via USB to your Mac
> open the Terminal app
> cd /dev
> ls -a
> search for 'tty.Serial...' or 'tty.SeriellerAnschluss' or 'tty.usbmodem14411' etc. ; (*) is defined as this string without ' ' and without any blank. Keep that string in mind, then type in: avrdude -carduino -pm328p -P /dev/(*) -U flash:w:<path to to this file>/eeprom_writer.hex
> for example: avrdude -carduino -pm328p -P /dev/tty.usbmodem14411 -U flash:w:/Users/AtariWiki/Desktop/eeprom_writer.hex
> then: avrdude -carduino -pm328p -P /dev/tty.usbmodem14411 -U flash:w:/Users/AtariWiki/Desktop/SDrive.hex
> flashing is now done
> disconnect everything, take a usb card reader and copy the file 'sdrive.atr' on the microSD card into the root directory
> reconnect everything
> congratulations to your new SDrive-Max software! :-)
Pictures#
 |
 |
 |
References#
- Original SDrive-Max website
- Arduino Uno Rev.3 Mikrocontroller Board
- USB cable from Amazon
- Bundel Acryl Gehäuse & UNO R3 ATmega 328P Board CH340G USB Chip
- CrossPack for AVR® Development
- Elegoo UNO R3 2.8 Inches TFT Touch Screen
- Elegoo Uno R3 2,8" TFT Touchscreen mit SD Karten Slot für Arduino UNO R3 Bibliotheken auf CD Mitgeliefert
- SDrive-MAX at HiassofT's Atari 8bit world
- microSD card from Amazon
- Projektvorstellung: SDrive-MAX im forum64.de ; German language ; please use: translate.google in case of problems. Alexa, Siri or even the Star Trek universal translator from 1967 do not work at the moment, but AtariWiki has an eye on it. ;-)
- http://www.abbuc.de/community/forum/viewtopic.php?f=15&t=9451 ; German language ; instructions for setting up a SDrive-MAX from Sascha Kriegel. Incredible infos, a must read. Thank you so much Sascha, AtariWiki is deep in your debt.
Credits#
AtariWiki would like to say thank you to the following persons, who made this incredible device possible:- Klaus
- Farb from AtariAge
- Sascha Kriegel
German#
- http://www.abbuc.de/community/forum/viewtopic.php?f=15&t=9451 ; Anleitung in deutsch zum SDrive-MAX von Sascha Kriegel; Danke an Sascha für diese tolle und ausführliche Anleitung und den Abbuc fürs hosten! :-)
Wenn man beim Einschalten des Ataris zusätzlich die Shift-Taste gedrückt hält, erscheint eine Zeile oben mit verschiedenen Option. Man muss aber weiterhin die Shift-Taste gedrückt halten und zusätzlich dann eine Auswahl treffen. Hat man verschiedene Dateien den jeweiligen Laufwerken zugeordnet und ist noch im Auswahlmenü, kann man mit Control und W die Laufwerkseinstellungen sichern. Beim nächsten Start werden diese dann automatisch zugeordnet. Somit eine sehr smarte Benutzerfunktion! :-) Danke Bernd, für diese wichtigen Infos.